Managing Games
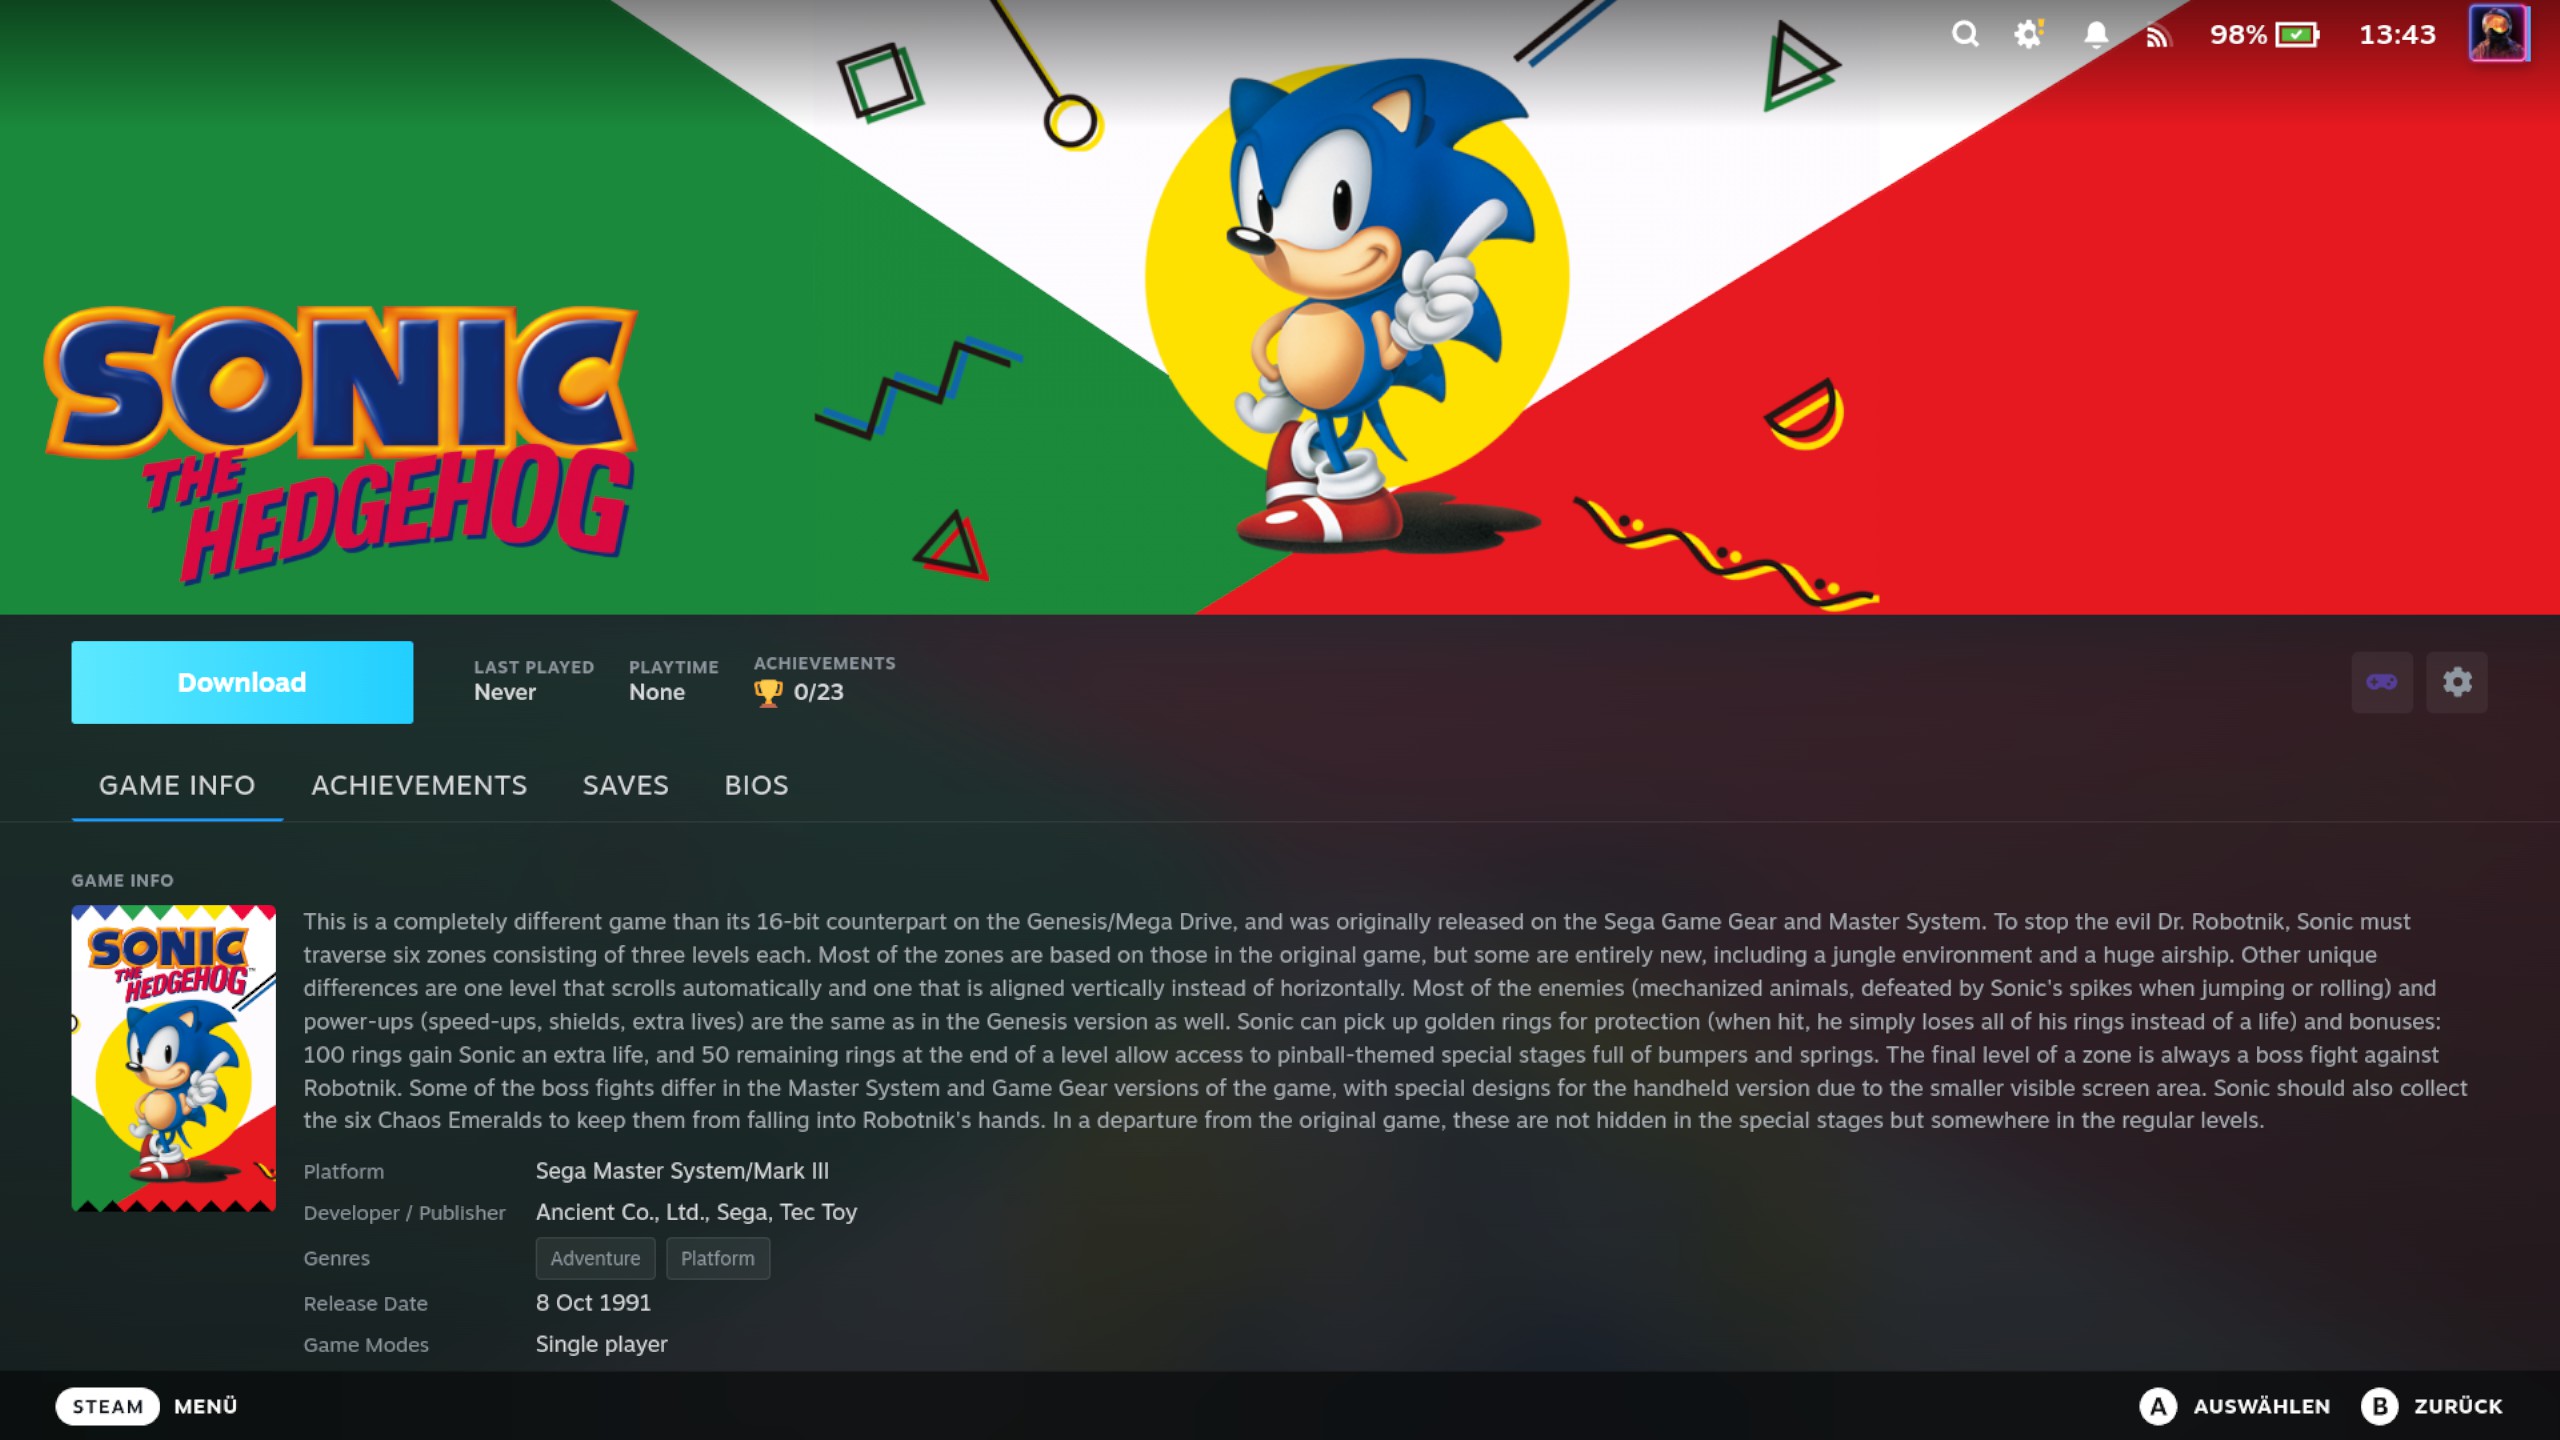
After syncing, each game in your Steam Library that came from RomM has an injected RomM Sync panel on its detail page. This panel handles downloads, artwork, BIOS status, save sync, and more.
The Game Detail Panel
When you open a RomM game in the Steam Library, you'll see the RomM Sync panel below the standard Steam content. It shows:
- Status badge — "Installed", "Downloading", or "Not Installed"
- Platform name — which system the game belongs to (e.g. "Game Boy Advance")
- Version switcher — a compact control next to the Play button (beside the disc picker) to pick which version of the game is active, when RomM has more than one (see below)
- Region / Languages — attributes of the active version, shown in the Game Info tab when RomM has them (see below)
- BIOS status — whether required BIOS files are present (see BIOS Management)
- Save sync status — last sync time, conflict count, and playtime (see Save Sync)
- Space required — for a game that isn't downloaded yet, a "Space Required" cell next to the Play button shows how much disk space the download needs. It disappears once the game is installed (mirroring how Steam hides it for installed games); it's also omitted when RomM doesn't report the size.
- Action buttons — Download, Pause/Resume, Uninstall, Cancel, or Refresh Metadata depending on state
Versions
Many games exist in a RomM library as several versions — different dumps of the same title: a (USA) release and a
(Europe) one, a multi-language (En,Fr,De) dump, a (Rev 1) revision, a (Demo). RomM groups these as a sibling
group (one game, many versions), and the plugin represents the whole group with a single Steam shortcut. The
version currently bound to that shortcut is the active version — the one the Download button fetches, and the one
that launches and syncs saves.
The Switch-version control
When a game has more than one version, a compact version control appears next to the Play button — right beside the disc picker, and only for a multi-version game. Open it to see every version in the group, each showing its own cover art (so two regions of the same game are told apart at a glance; a version whose cover can't be fetched shows a disc icon), with markers for:
- ✓ (active) — the version currently bound to the shortcut. This is exactly what the Download button will fetch.
- Default — the version the plugin would pick on its own, following RomM's "SET DEFAULT" choice (
is_main_sibling) and, failing that, your Preferred region setting. It's a suggestion, not a lock. - Downloaded — a version you already have on disk.
- not synced — a version RomM has that isn't in your local library yet. Selecting it records it on the spot — unless it's dimmed as a conflicting metadata match (see below).
Some rows are dimmed and can't be selected, labelled "conflicting metadata match in RomM". Versions of one game are grouped by the metadata match they agree on — even when their coverage is uneven. A US and a EU dump that scrapers matched differently (say one carries an IGDB id, the other only a ScreenScraper id) still group together and switch freely, as long as the highest-priority match they share agrees. A row is dimmed only when its match genuinely conflicts — it carries a different id at that shared match, so RomM really treats it as a different game. This holds whether or not the version is already in your library: a dump you've already synced under a conflicting match, and a not-yet-synced version whose match conflicts, are both shown (so you know they exist) but can't be switched to — either would move the shortcut onto a different game. To make one selectable, fix its metadata match in RomM so it agrees with this game's, then re-sync.
Selecting a different version rebinds the game to it: the Download button now fetches that version, the panel's title and Region/Languages rows update to reflect it, and its cover refreshes to the new version. The Steam shortcut keeps its name, its place in your collections, and its playtime — all tied to the shortcut, which never changes. A single-version game shows no Version control.
Switching never deletes anything. ROM files already on disk stay put, and save files are never moved or deleted by a switch. What happens depends on whether the version you're leaving is downloaded and whether its saves are synced:
- Not downloaded, or downloaded with all saves already synced — the switch is instant. If the version you switch to is on disk it's playable right away (Play stays Play); if it isn't, the button becomes Download.
- Switching back to a version still on disk — instant and playable immediately, with no re-download.
- Leaving a downloaded version whose saves were never uploaded — a dialog warns you first. It offers Sync now & switch (uploads the saves, then switches), Switch anyway (the saves stay on disk but stop syncing until you switch back to that version), and Cancel. When RomM is unreachable the saves can't be uploaded, so the dialog drops the sync option and offers only Switch anyway and Cancel, explaining why.
When you leave a downloaded version with unsynced saves behind, the Saves tab shows a reminder banner ("switch back to sync them") so those saves aren't forgotten.
While a download of the game is running, switching is blocked with a short message — cancel the running download first.
While a switch is being applied, the version control briefly shows a spinner and can't be reopened until the switch settles and its version list refreshes — so a fast second tap can't act against the not-yet-updated list (for example, switching straight back before the list has caught up).
Region and Languages
In the panel's Game Info tab, the plugin shows the Region (e.g. USA/Europe) and Languages (e.g. En, Fr)
of the active version, when RomM has them. These are attributes of that one version — they change when you switch
versions, and a version with no region/language detail simply omits the rows. The values refresh on every sync.
Downloading ROMs
Games appear as shortcuts in your library even before the ROM file is downloaded. Before downloading, the panel shows a Space Required cell next to the Play button so you know how much disk space the ROM needs. To download:
- Open the game's detail page in the Steam Library
- In the RomM Sync panel, tap Download
- A progress bar shows download status with bytes transferred
- When complete, the status changes to "Installed" and the game is ready to play
You can also abort a download in progress — tap the X that appears on the right of the download button on the game's detail page, or use Cancel in the QAM download queue. Only the partial transfer files are cleaned up — an already-installed copy of the game is never removed, so cancelling a re-download (or a download that fails partway) leaves your existing install intact. If the cancel happens to land just as the download finishes, the game is kept as Installed rather than torn down.
Downloaded ROMs are stored in your RetroDECK roms directory (e.g. ~/retrodeck/roms/gba/).
Only one version of a game is downloaded at a time. If you tap Download on a version while another version of the same game (its sibling group) is already on disk, the plugin removes the old install first and then downloads the new one — no prompt. This keeps a multi-version game to a single copy on disk. Your save files are never touched by this cleanup, so switching back and re-downloading the earlier version rejoins its saves. Games that still carry a separate shortcut per version from an older release are left untouched.
Pausing and Resuming a Download
A running download can be paused and later resumed without losing the progress already transferred. On the game detail page, a resumable download shows a chevron next to the progress button — open it and choose Pause; the button freezes at its current progress and shows Paused, and the same menu then offers Resume. You can do the same from the QAM download queue, where a downloading item gets a Pause button and a paused item gets a Resume button (a paused download stays in the active list, not the finished one).
Resume is only available for single-file ROMs on a direct connection — the server has to support resuming a transfer from where it left off. Two cases can't resume, so they show only Cancel (no Pause/Resume):
- Multi-file ROMs (multi-disc or bin/cue titles downloaded as a single ZIP), and
- Servers behind Cloudflare (the Cloudflare Tunnel doesn't honour partial-content requests).
In those cases, cancelling and starting over is the only option — but a fresh download is safe, as cancelling never removes an already-installed copy.
Multi-Disc and Multi-File Games
Some games ship as more than one file — multi-disc PS1 titles, a base game plus updates and DLC, a BIN+CUE pair. RomM downloads these as a single ZIP, which the plugin extracts automatically. You just download and play; the layout is handled for you.
After the byte transfer finishes, the download button and the QAM queue show a brief Extracting… phase with its own progress (the percentage climbs back from 0 as the archive unpacks — a large Switch or disc image takes a moment). The extraction can't be cancelled, so the cancel/pause controls are replaced by a spinner until it's done; the game then flips to Installed as usual. Single-file ROMs download as a bare file and skip this phase entirely.
The plugin gives the extracted game its own folder and names that folder after the real launch file (including the
extension, e.g. Final Fantasy VII (USA).m3u/ or Halo 3 (USA).iso/) so that ES-DE collapses it into a single game
entry instead of showing a folder plus loose files.
Disc switching only applies to systems whose emulator supports it. For the disc-swapping consoles — PS1, Saturn,
Sega CD, PC Engine CD, Dreamcast, GameCube, Wii, and the like — a game-named .m3u playlist is generated so you can
flip between discs in-game, and the folder is named after that playlist. The plugin decides this by reading ES-DE's own
per-system supported-extension list, so a game only ever gets an .m3u on a system where ES-DE (and the emulator behind
it) actually understands one.
Cartridge and folder systems get no playlist. Switch (.nsp), Xbox 360 (.iso), and other systems with no disc
concept collapse to their real game file instead — the folder is named after the cartridge/disc image (<Game>.nsp/,
<Game>.iso/) and the game launches straight from it. RomM bundles a generic .m3u into every multi-file ZIP, but the
plugin ignores it on these systems rather than launching from a file the emulator can't read.
Single-file titles (most .chd/.iso games on disc-image systems) download as a bare file with no folder, so they need
no playlist either way.
Known limitation
Games installed before this version keep their old folder layout, so ES-DE may still show them as a folder plus
loose files — or, on cartridge systems, as a stray .m3u. The fix only affects new downloads; re-download the game
to get the single clean ES-DE entry.
Picking a Disc for Multi-Disc Games
When an installed game has more than one disc, a small disc dropdown appears on the game detail page, right next to the Play button. Its face shows the disc that will launch (a 💿 with the disc's label), so it doubles as a badge — single-disc games show no dropdown at all.
To pick a disc:
- Open the game's detail page in the Steam Library.
- Tap the 💿 disc dropdown next to Play.
- Choose the disc (or "All discs" — see below). The Play button now launches that disc.
That's the whole flow — there's no separate save step. The next time Steam launches the game, it launches the disc you picked.
What "All discs" means
On the disc-swapping consoles (PS1, Saturn, Sega CD, PC Engine CD, Dreamcast, GameCube, Wii, and the like) a
multi-disc game gets a generated .m3u playlist, so the dropdown's default entry is All discs (m3u) — it launches
through the playlist and lets you flip between discs inside the emulator, no relaunch needed. You can still pick a
single disc from the same dropdown to jump straight to it.
On systems with no playlist concept, there's no in-emulator disc switching, so the dropdown defaults to Disc 1 and switching discs means picking a different disc here and relaunching. Either way, the picker works the same.
The dropdown only ever lists discs your emulator can actually launch — it reads ES-DE's own per-system file-type list, so you'll never be offered a disc image the emulator can't open.
Your pick sticks
The selected disc is saved, and it survives the things that would otherwise reset it:
- A library re-sync never changes your pick.
- Uninstalling and re-downloading the game restores it — the choice is remembered against the game, not the downloaded files, so a reinstall re-applies it automatically.
- A RetroDECK path migration (moving your RetroDECK home) keeps it too.
If the specific disc you pinned ever goes missing (for example a partial re-download), the game quietly falls back to the default disc rather than failing to launch.
Where it applies
The disc you pick applies to the Steam shortcut this plugin created for the game, whenever Steam launches it — in game mode (the couch UI) or desktop mode. It does not touch any custom non-plugin shortcut you set up yourself (for example a hand-made Xenia or standalone-emulator shortcut) — those carry their own launch command, which the plugin doesn't manage.
RetroDECK is the supported launcher
The disc picker launches through RetroDECK, the supported launcher today. PS1 and the other .m3u disc-swapping
systems are fully covered; systems that need an external standalone emulator to run at all are a separate roadmap
item.
Uninstalling ROMs
To remove a downloaded ROM file:
- Open the game's detail page
- Tap Uninstall in the RomM Sync panel
- The ROM file is deleted from disk
- The shortcut remains in your library so you can re-download later
This only removes the ROM file — the Steam shortcut, artwork, and metadata are preserved.
Refreshing Artwork and Metadata
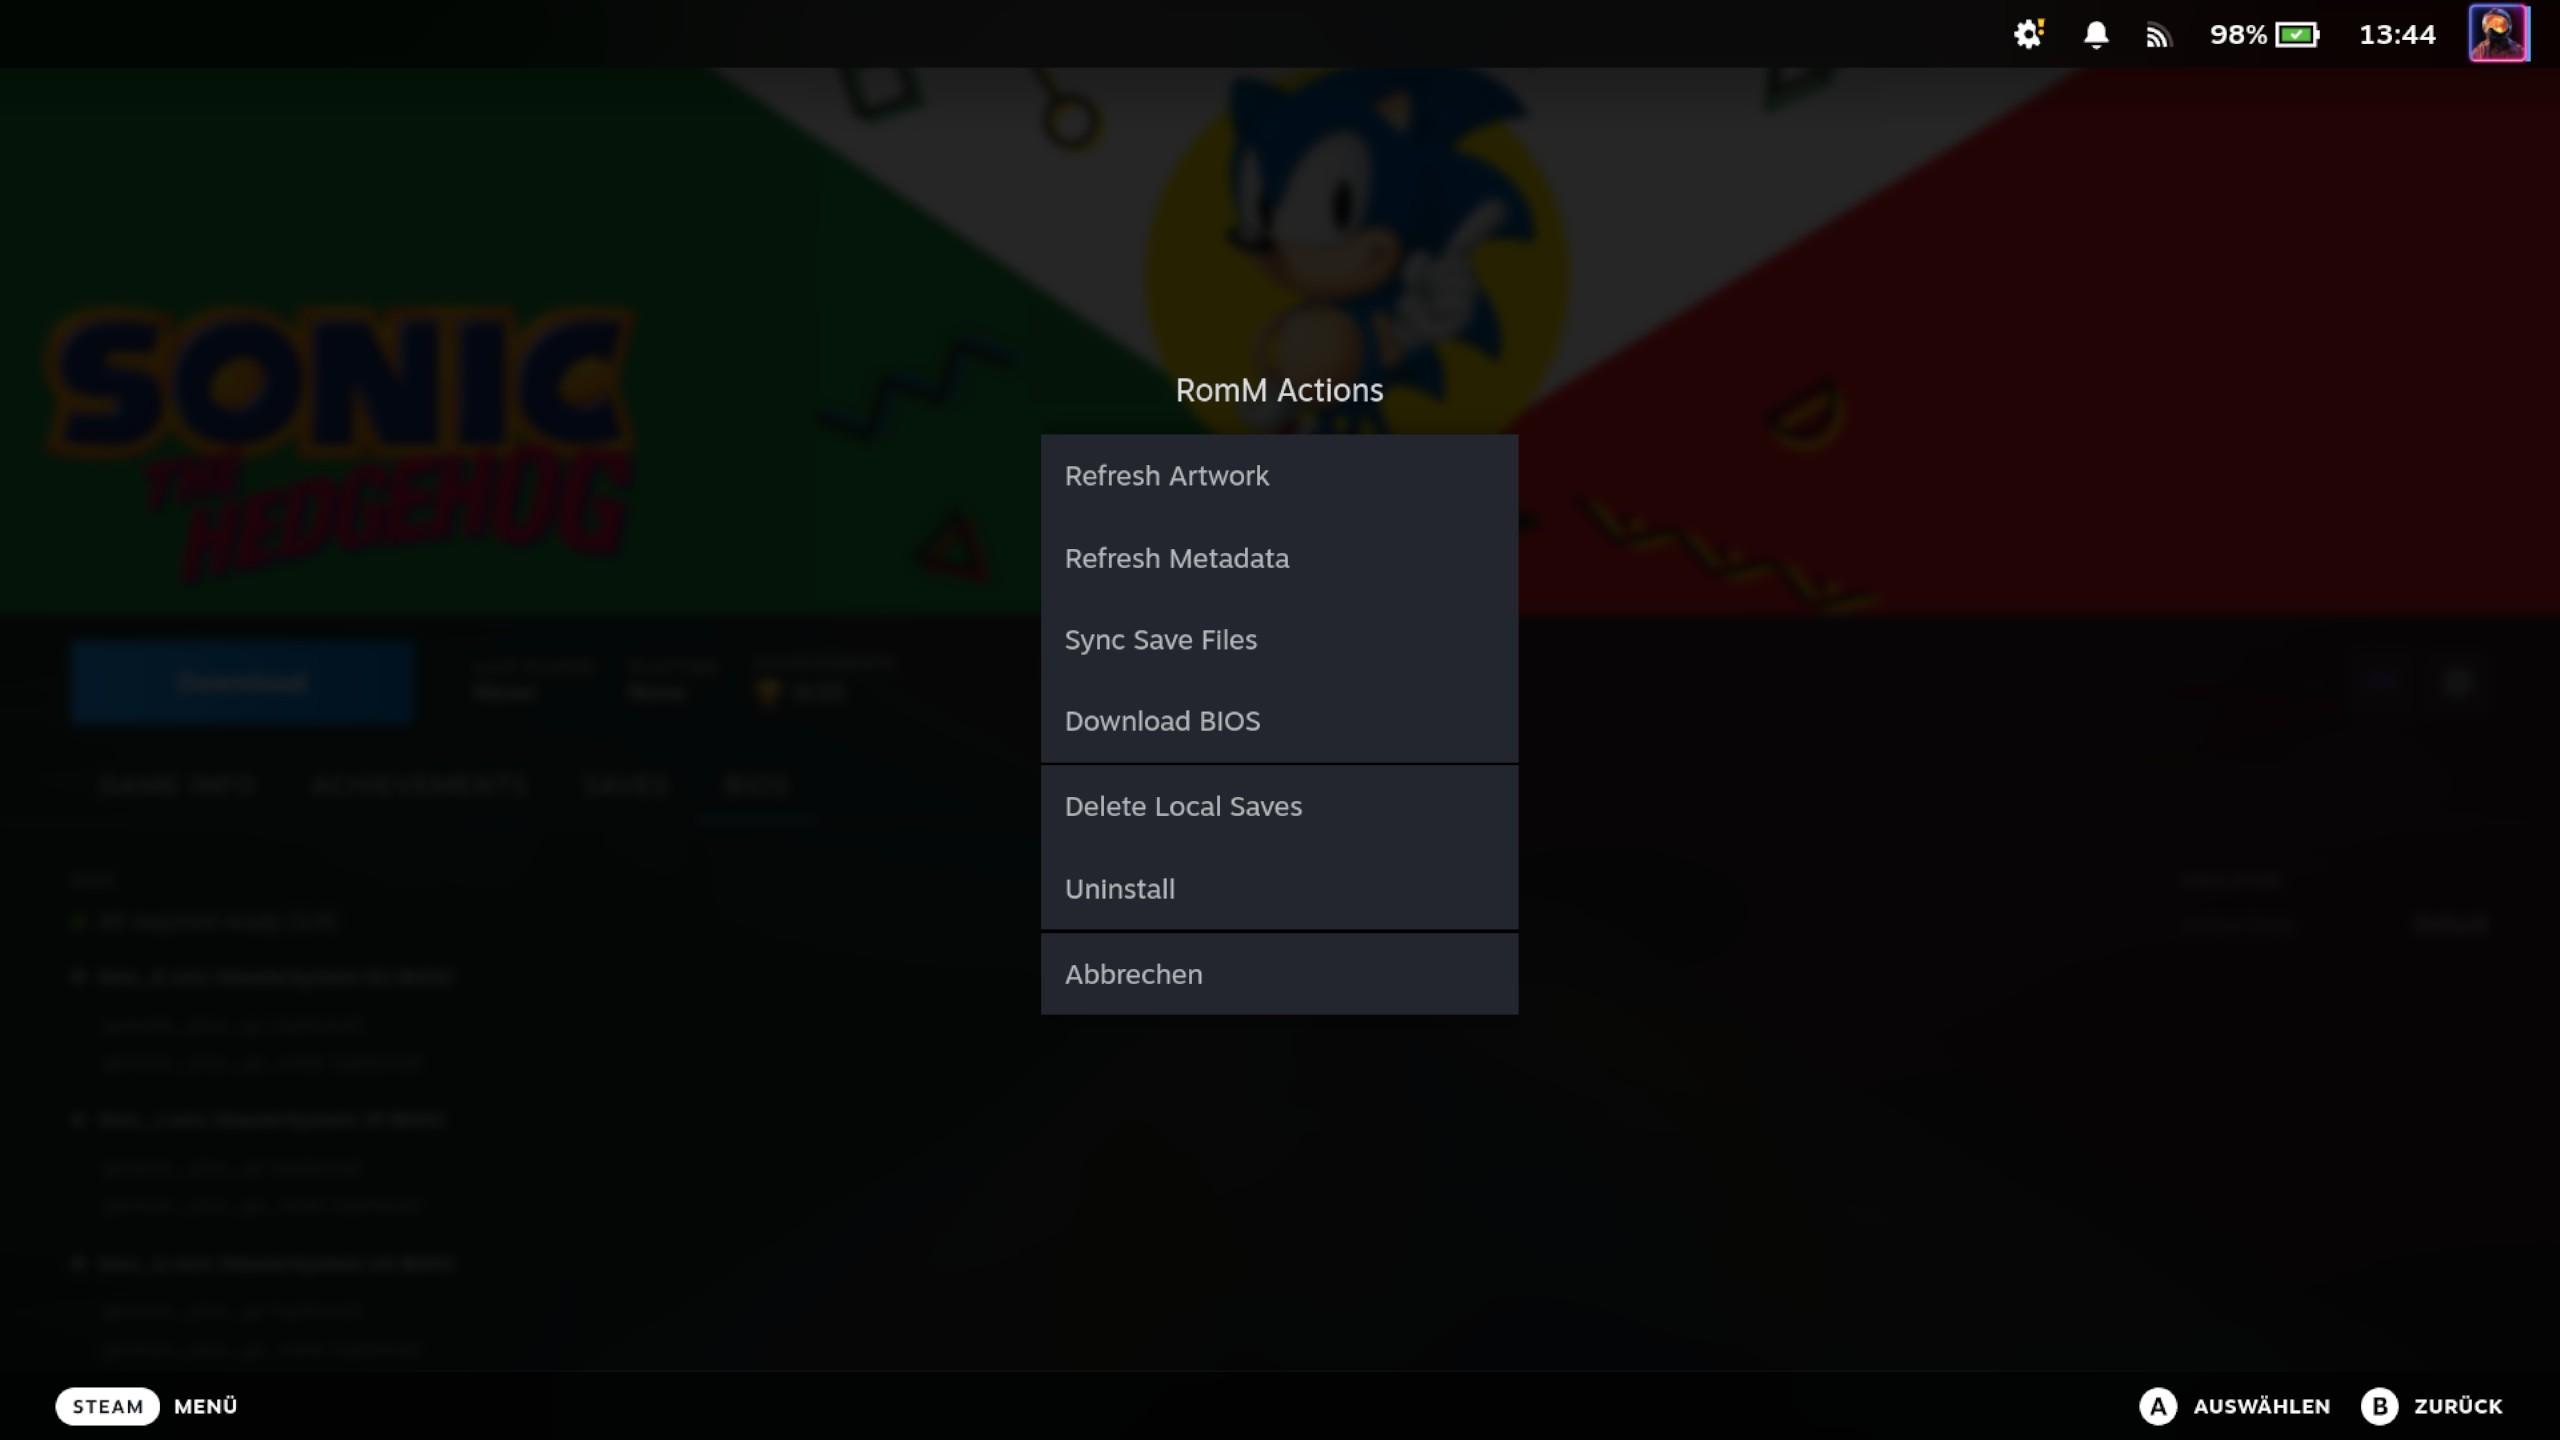
Tap Refresh Metadata in the game detail panel to:
- Re-fetch hero banner, logo, wide grid, and icon from SteamGridDB
- Re-fetch game metadata (description, developer, genres, release date) from RomM
- Update the native Steam display with the latest information
This is useful if artwork was missing on first sync (SteamGridDB may have added new images since) or if metadata has changed on your RomM server.
When you tap Refresh Artwork, the plugin asks your RomM server which SteamGridDB game the ROM maps to and applies the hero banner, logo, wide grid, and icon for that game. RomM is the source of truth: whenever your server has a SteamGridDB id for a game, that id wins — on both sync and refresh. If RomM has no id, the plugin tries to derive one from the game's IGDB id. Only when neither resolves a SteamGridDB game does a picker open, where you search SteamGridDB by name and choose from the results (with thumbnails). A name pick is applied immediately but is not permanent — once your RomM server has a SteamGridDB id for that game, that id takes over. Because a manual pick isn't stored as the resolved id, you can change it any time: just tap Refresh Artwork again and the picker reopens. To pin a specific match for good, set the SteamGridDB id on the game in RomM.
The full set of per-game actions — refresh artwork, refresh metadata, sync save files, download BIOS, and uninstall — is available from the RomM Actions menu in the game detail panel.
Download Queue
The Downloads page (accessible from the main QAM panel) shows all active and completed downloads:
- Active downloads with progress bars, plus pause/resume and cancel buttons (pause/resume only where the download is resumable — see Pausing and Resuming a Download)
- Completed, failed, and cancelled downloads with status details
- Clear Completed button to clean up the list
At most two ROMs download at the same time. If you start more, the extra ones wait their turn and begin automatically as soon as a slot frees up. Before a download starts, the plugin checks there's enough free disk space for everything already in flight, so a batch of downloads won't overcommit the SD card.
Launching Games
Select any installed game in the Steam Library and press Play. The full launch command is baked into the Steam shortcut when the game is synced or downloaded, so launching just runs that command:
- The shortcut launches RetroDECK with the correct ROM path
- RetroDECK auto-detects the system from the ROM's directory path and uses the appropriate emulator
- If you picked a per-game core, the chosen core is baked into the command and used directly
- For a multi-disc game, the disc you picked is the one that launches
If the ROM is not downloaded, pressing Play won't launch a game — download it first from the game's detail panel; the shortcut's command is filled in automatically when the download completes.
Previous: Syncing Your Library | Next: BIOS Management